Air Filter Replacement: A Step-by-Step Guide
Air Filter Replacement: A Step-by-Step Guide
Why is Air Filter Replacement Important?
Air filters play a crucial role in maintaining the quality of the air we breathe and the performance of our heating and cooling systems. Dirty air filters can lead to reduced airflow, increased energy bills, and decreased indoor air quality. Replacing air filters regularly is essential to ensure optimal performance and efficiency of your HVAC system.
Step 1: Identify the Filter Type
Before replacing your air filter, it’s essential to identify the type of filter used in your HVAC system. There are several types of air filters available, including fiberglass, pleated, HEPA, and activated carbon filters. Each type has its unique characteristics, advantages, and applications.
Step 2: Turn Off the Power
To safely replace the air filter, switch off the power to the HVAC system. This will ensure your safety while working on the system.
Step 3: Locate the Filter
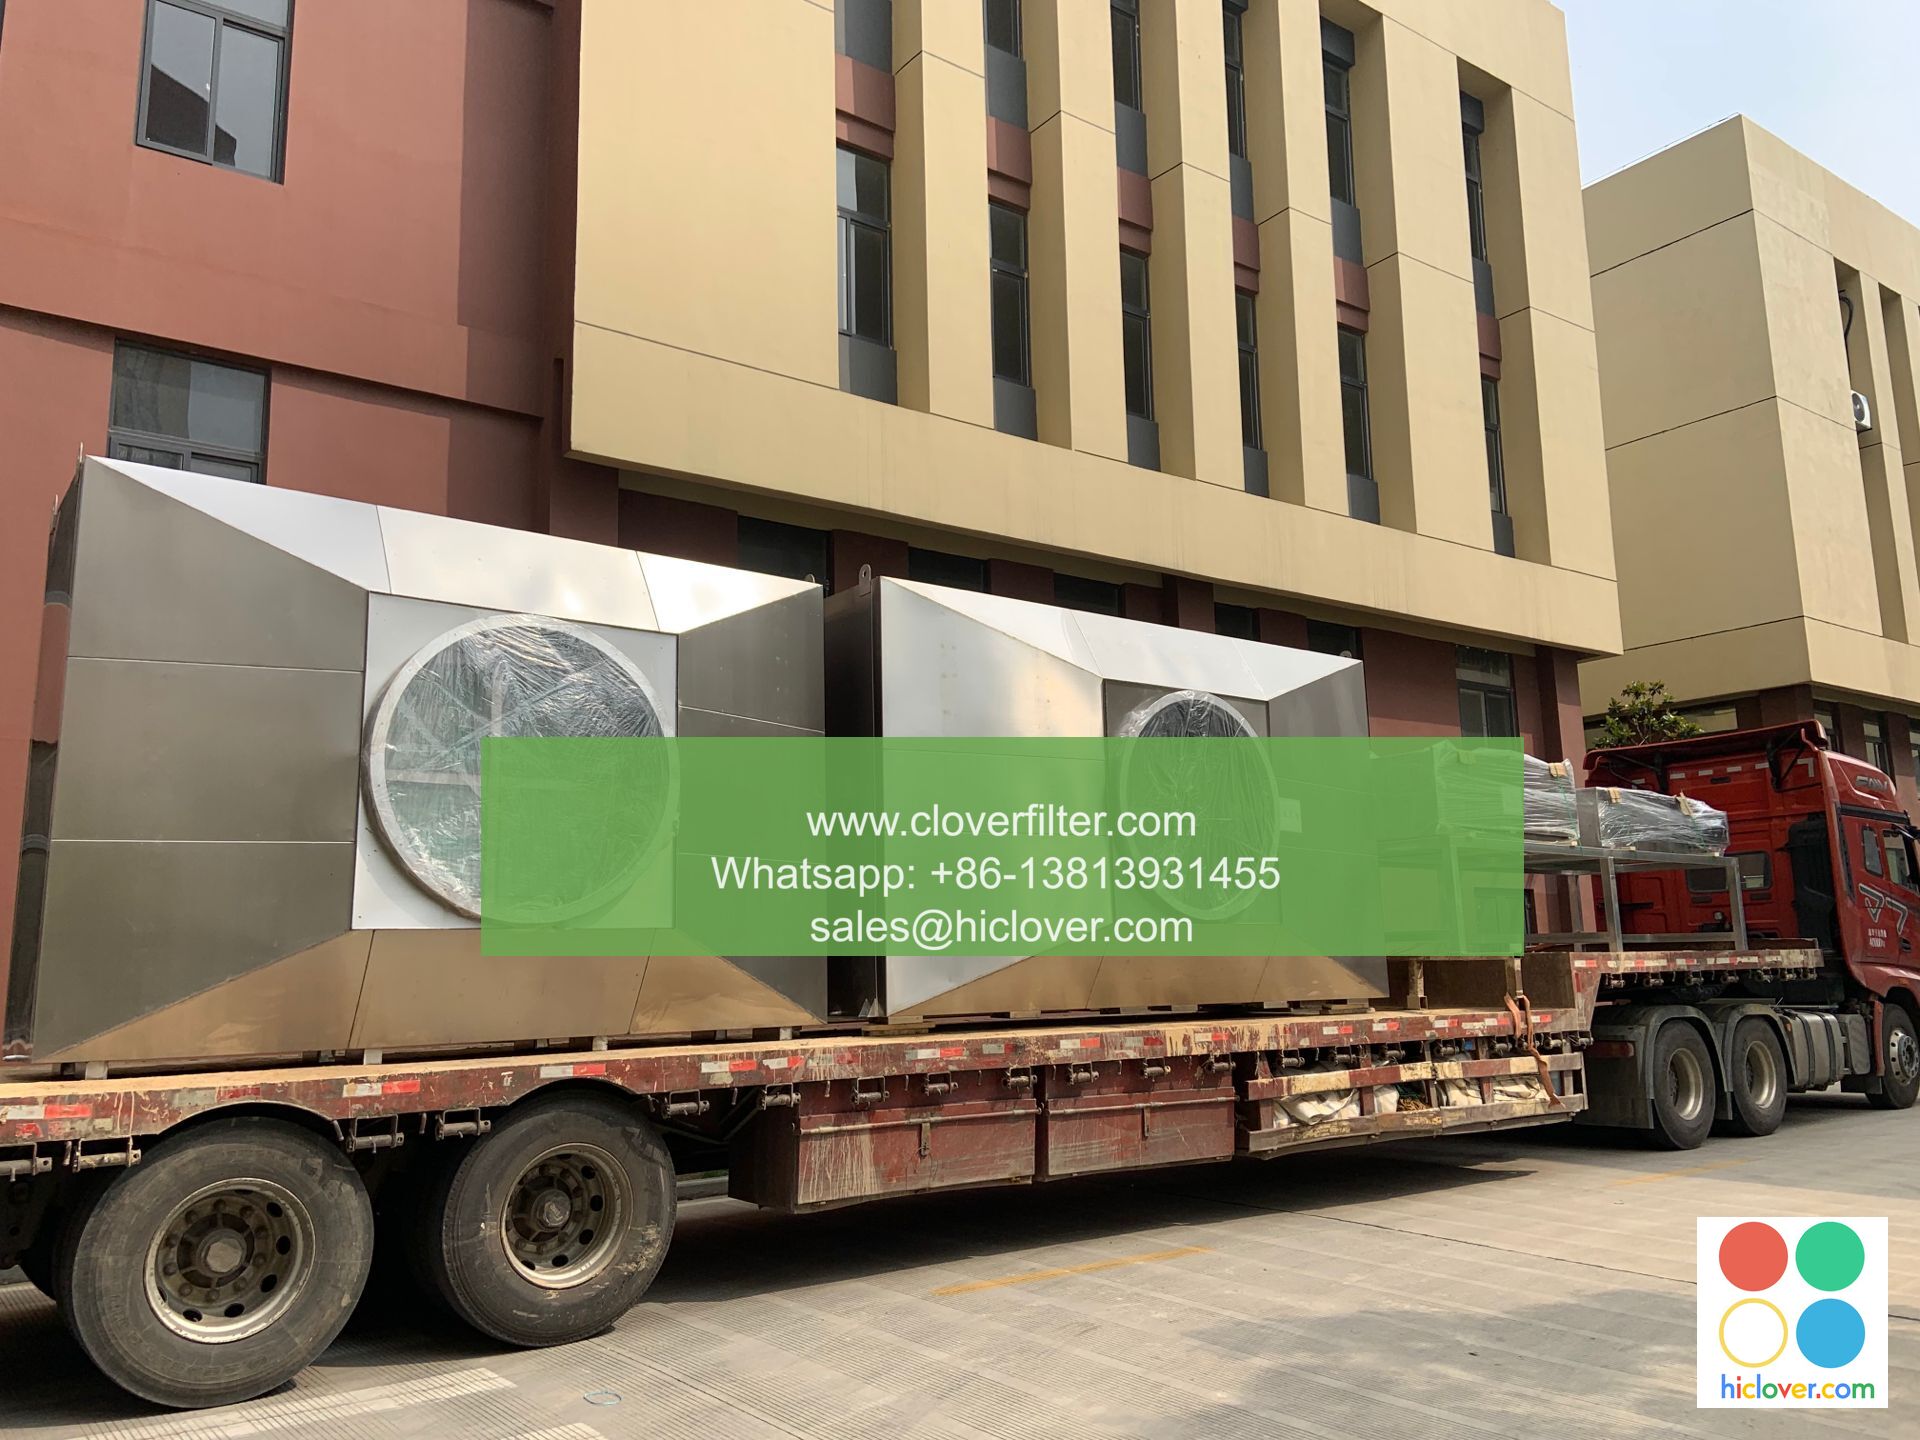
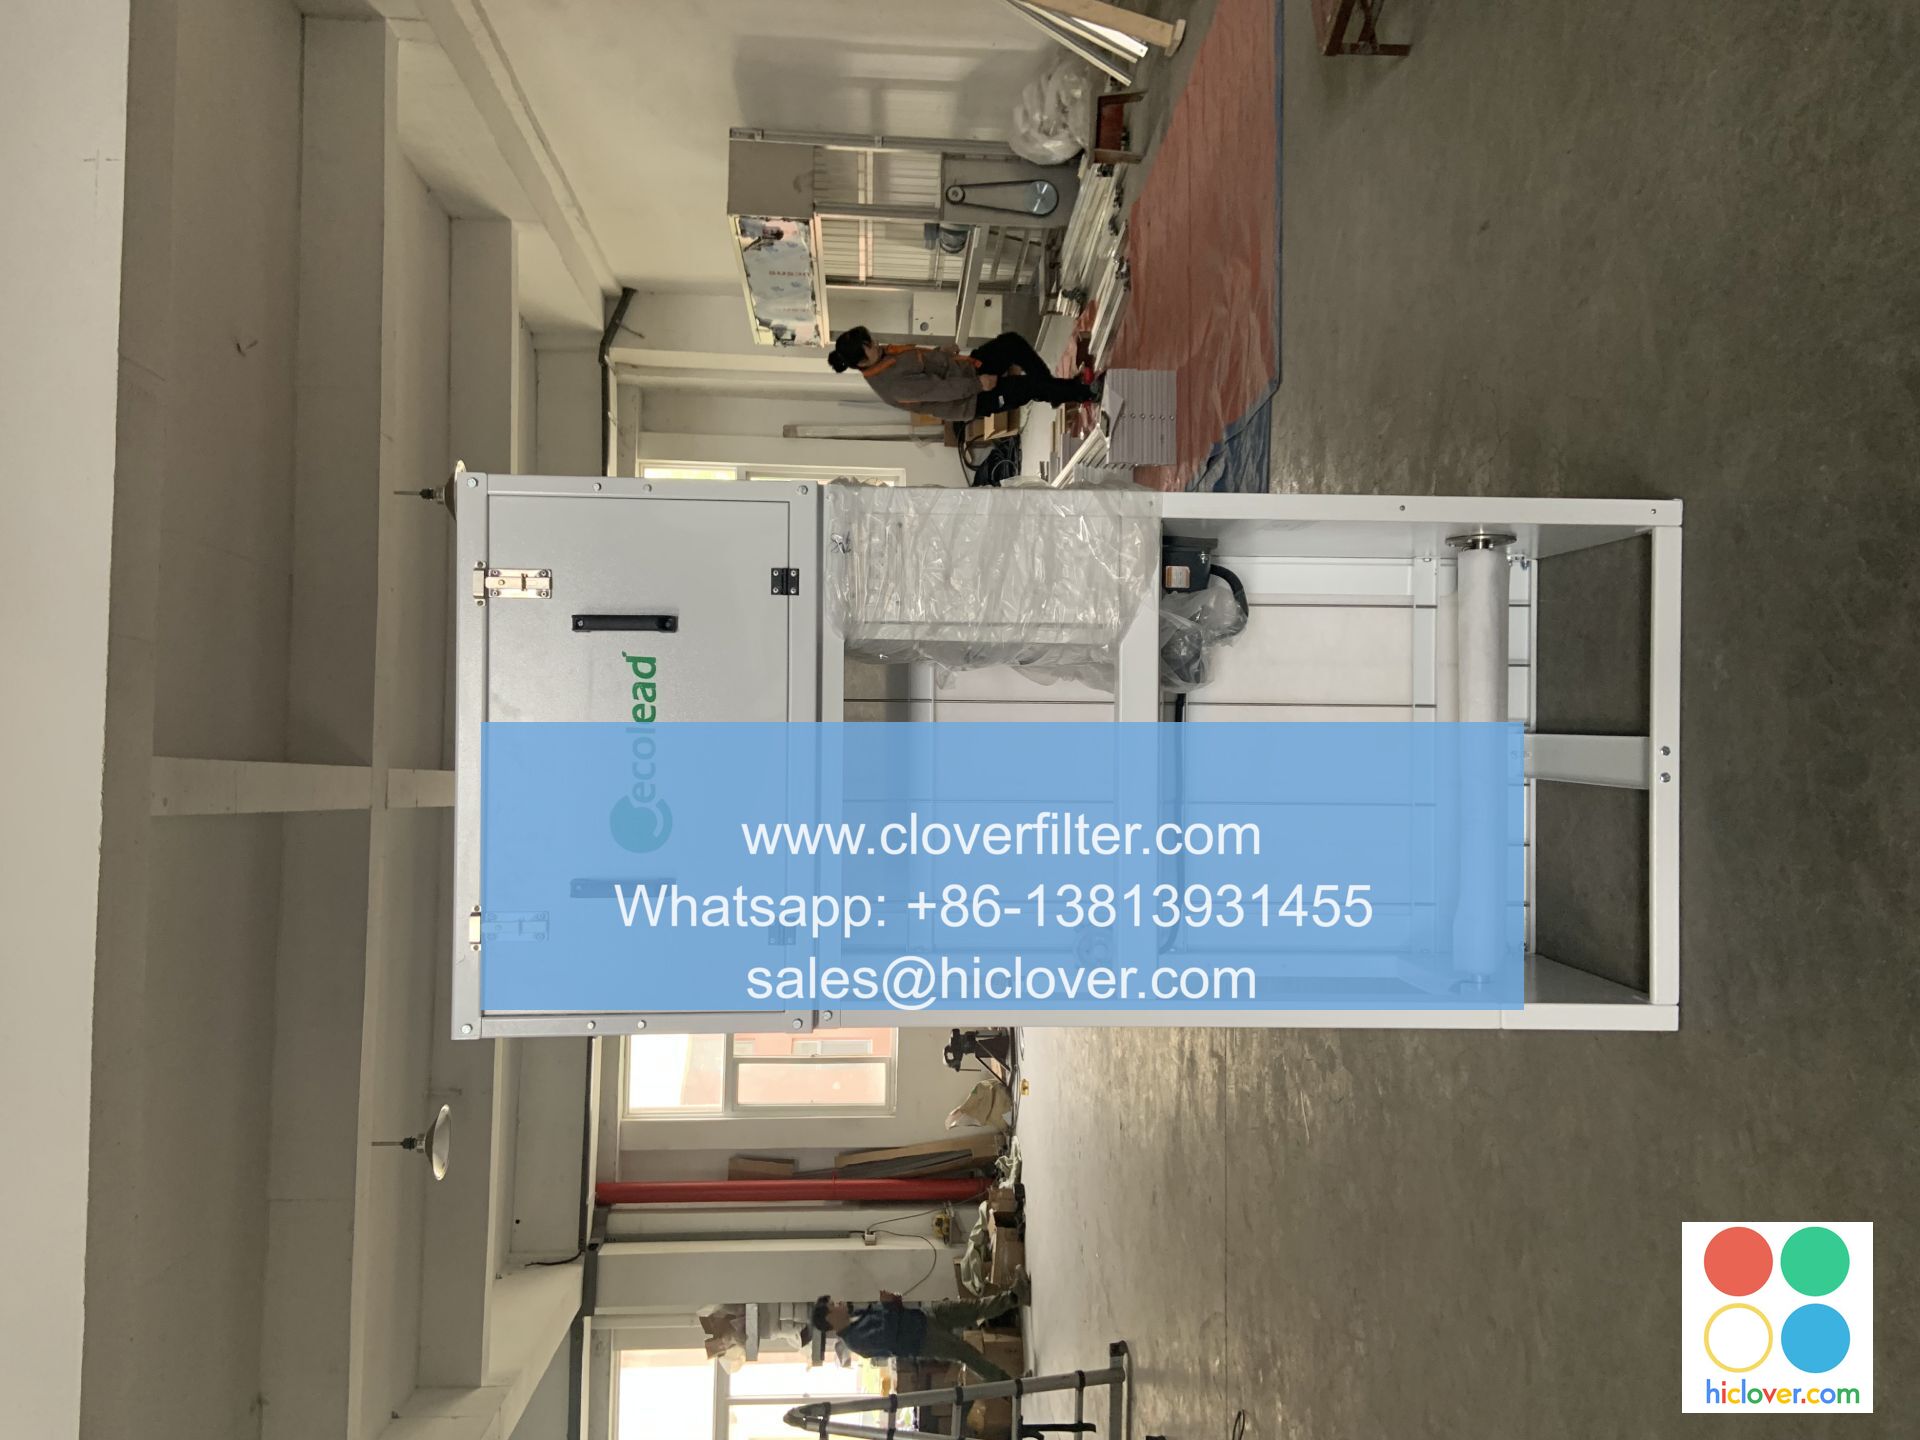
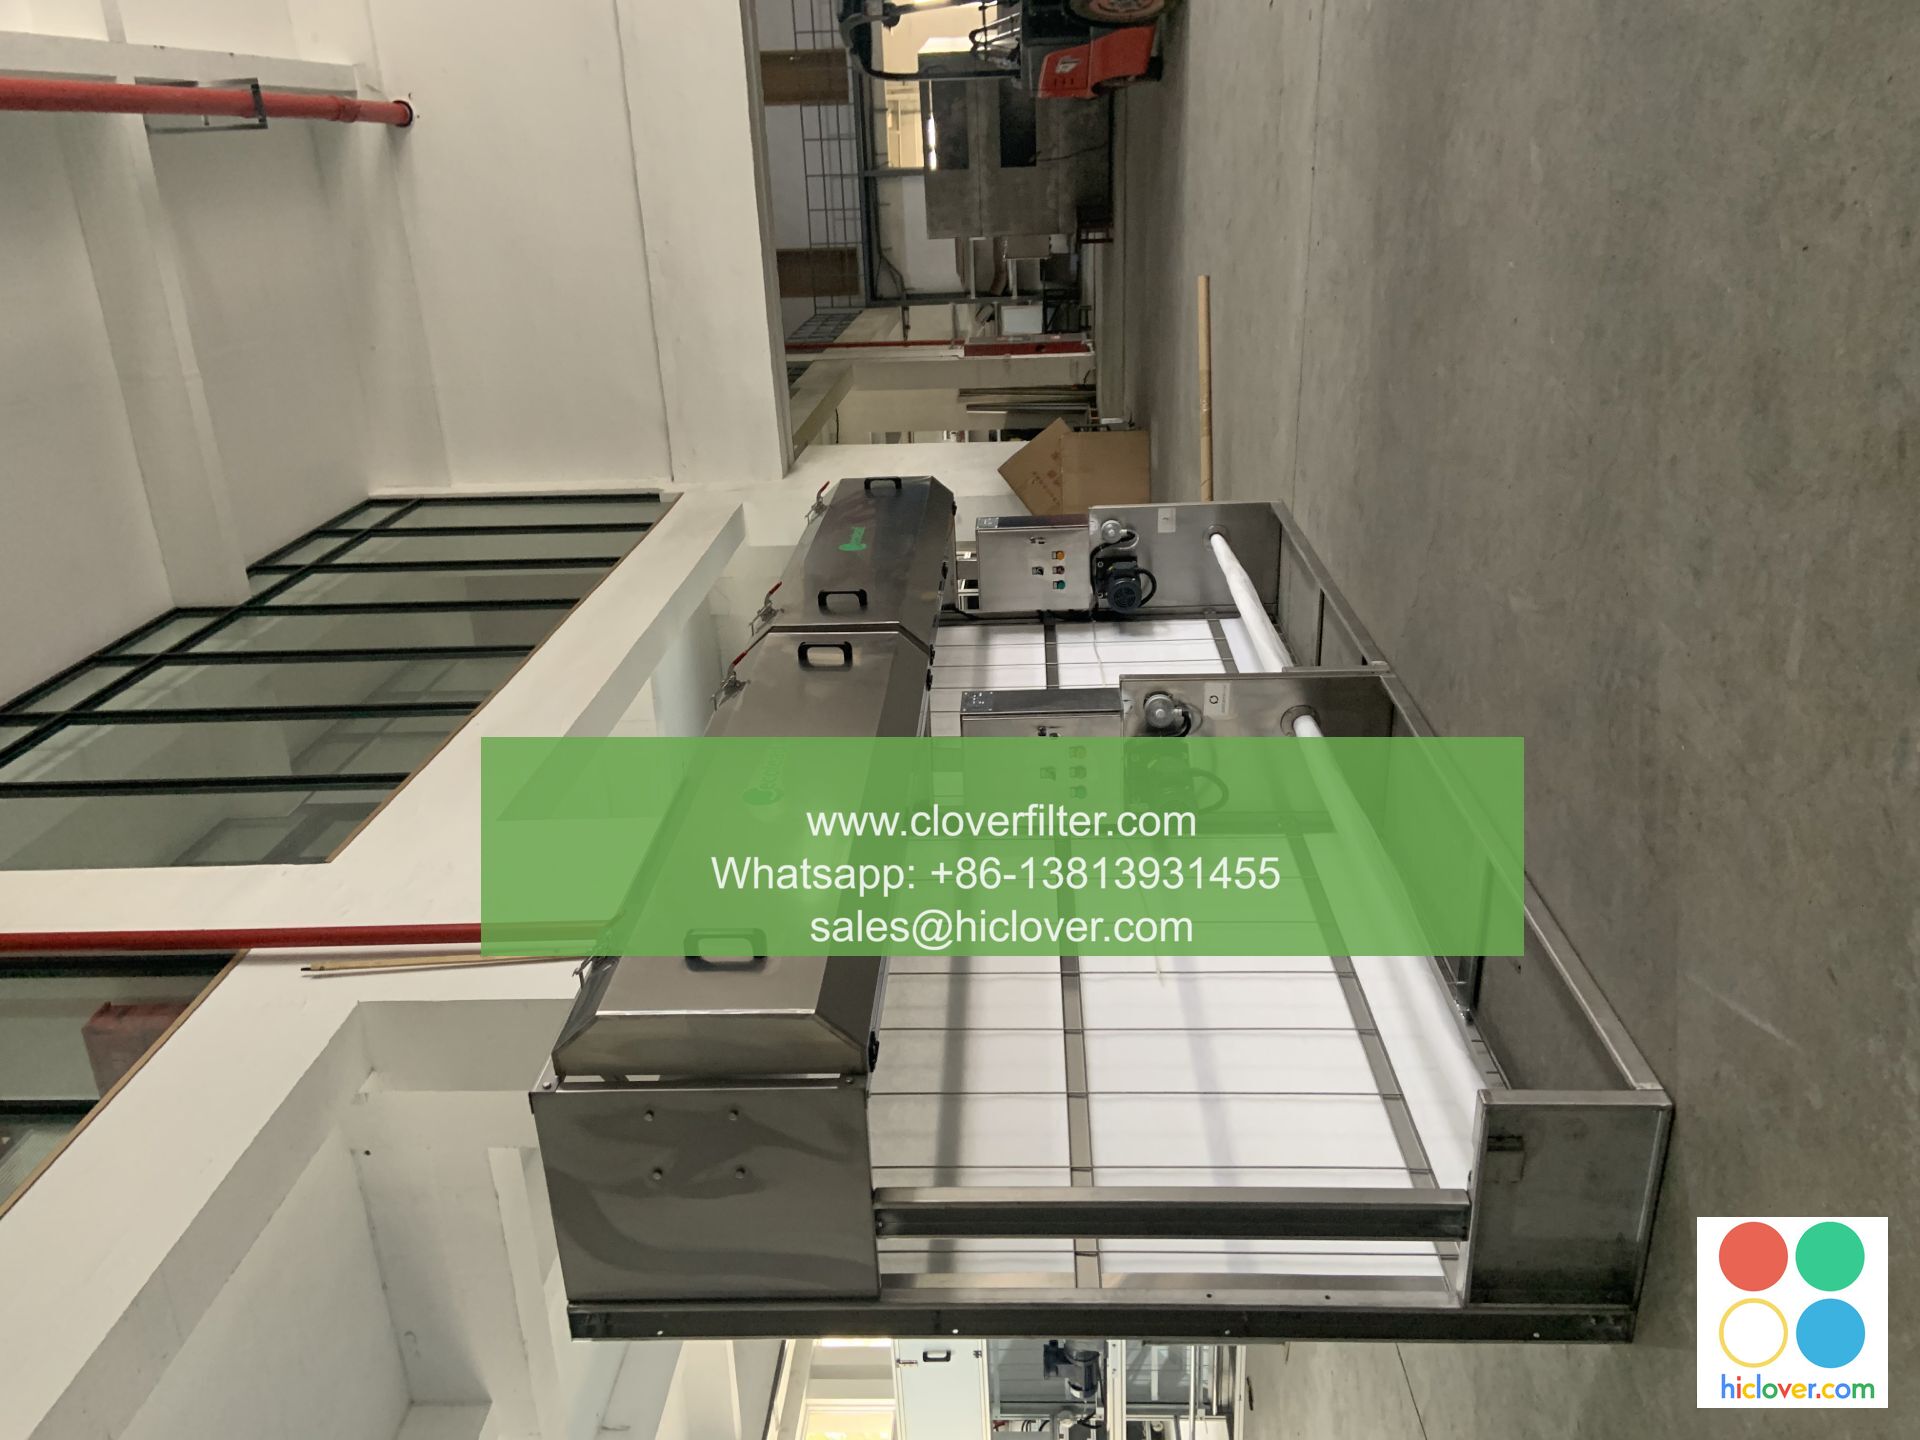
Find the air filter location in your HVAC system. It is usually located in the return air duct, near the furnace or air handler, or in a separate filter compartment.
Step 4: Remove the Filter
Gently pull out the air filter from its housing. You may need to twist, pull, or slide the filter out, depending on the type of filter and its location.
Step 5: Inspect and Clean the Filter Housing
Inspect the filter housing for any debris, dust, or dirt accumulation. Clean the housing with a soft brush or a vacuum cleaner to ensure a secure fit for the new filter.
Step 6: Install the New Filter
Take the new filter and insert it into the filter housing. Make sure it is securely seated and the gaskets or seals are properly aligned. Twist, pull, or slide the filter into place, depending on the type of filter and its location.
Step 7: Turn On the Power
Switch the power back on to your HVAC system. Test the system to ensure it is working properly and the new filter is properly installed.
Additional Tips and Considerations:
- Replace air filters every 1-3 months or as recommended by the manufacturer
- Consider upgrading to a higher MERV rating filter for improved indoor air quality
- Install a programmable thermostat to optimize your HVAC system’s performance
- Consider upgrading to a smart thermostat for remote control and scheduling capabilities
- Regularly clean and maintain your HVAC system to ensure optimal performance and efficiency
Conclusion:
Replacing air filters is a simple and crucial step in maintaining your HVAC system’s performance and indoor air quality. By following these steps, you can ensure a safe, efficient, and effective replacement process. Remember to regularly inspect and replace your air filters to enjoy improved indoor air quality, reduced energy bills, and prolonged system lifespan.
Keywords: Air Filter Replacement, HVAC System, Indoor Air Quality, Energy Efficiency, Home Maintenance, Smart Thermostat, MERV Rating, Air Filter Types
I’m here! I’d be happy to help with a prompt. What would you like to talk about or ask?
