A Guide to Replacing Your Air Filter: Step-by-Step Instructions
Replacing your air filter is a crucial maintenance task that ensures the indoor air quality in your home or office remains clean and healthy. A dirty air filter can lead to allergies, respiratory problems, and reduced heating, ventilation, and air conditioning (HVAC) system efficiency. In this article, we will walk you through the step-by-step process of replacing your air filter, highlighting various application areas and providing tips for air filter maintenance.
Why Replace Your Air Filter?
Before we dive into the replacement process, it’s essential to understand why replacing your air filter is important. A dirty air filter can cause a range of problems, including:
- Reduced air flow and system performance
- Increased energy consumption and utility bills
- Decreased indoor air quality and increased allergens
- Premature wear and tear on your HVAC system
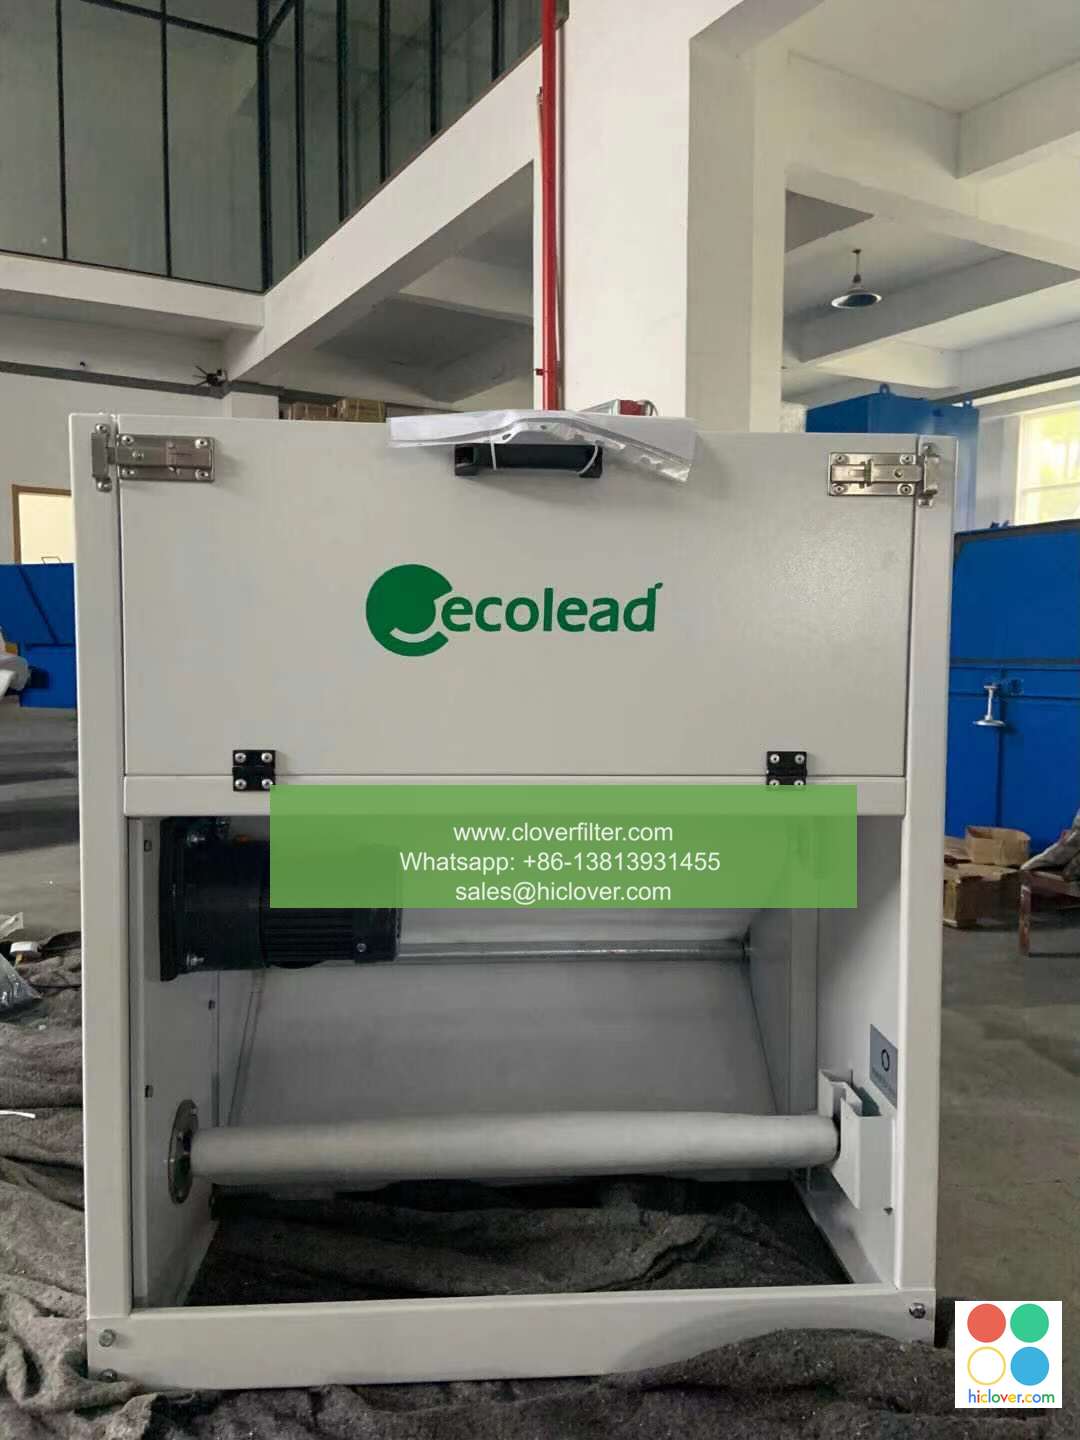
- Locate the air filter: The air filter is usually located in the ductwork or air handling unit of your HVAC system. Check your system’s manual or consult with a professional if you’re unsure.
- Turn off the power: Switch off the power to your HVAC system at the breaker box or switch to prevent any accidents or injuries.
- Remove the old filter: Take out the old air filter and dispose of it properly. Make sure to handle the filter carefully to avoid spreading dust and debris.
- Inspect and clean the area: Inspect the area around the air filter and clean it to prevent any dust or debris from entering the system.
- Install the new filter: Take the new air filter and install it according to the manufacturer’s instructions. Make sure it’s properly seated and secured to prevent any air leaks.
- Turn on the power: Switch on the power to your HVAC system and check to ensure it’s working correctly.
- Fiberglass air filters: These are the most common type of air filter and are suitable for residential and commercial applications.
- Pleated air filters: These filters have a pleated design that provides improved air flow and filtration efficiency. They’re ideal for allergy sufferers and pet owners.
- HEPA air filters: These filters use high-efficiency particulate air (HEPA) technology to capture 99.97% of particles as small as 0.3 microns. They’re commonly used in hospital, laboratory, and cleanroom applications.
- Activated carbon air filters: These filters use activated carbon to capture odors, gases, and chemicals. They’re ideal for industrial and commercial applications where air pollution is a concern.
Step-by-Step Instructions for Replacing Your Air Filter
Replacing your air filter is a relatively simple process that can be completed in a few minutes. Here’s a step-by-step guide:
Types of Air Filters and Their Applications
There are various types of air filters available, each with its unique application areas and benefits. Some of the most common types of air filters include:
Conclusion
Replacing your air filter is a simple and essential maintenance task that can significantly improve the indoor air quality in your home or office. By following the step-by-step instructions outlined in this article and choosing the right type of air filter for your application, you can ensure a healthier, more efficient, and more comfortable environment. Remember to replace your air filter regularly to prevent allergies, respiratory problems, and reduced HVAC system performance. You haven’t asked a question or given me a prompt to respond to. What would you like to talk about?
