How to Replace Your Air Filter
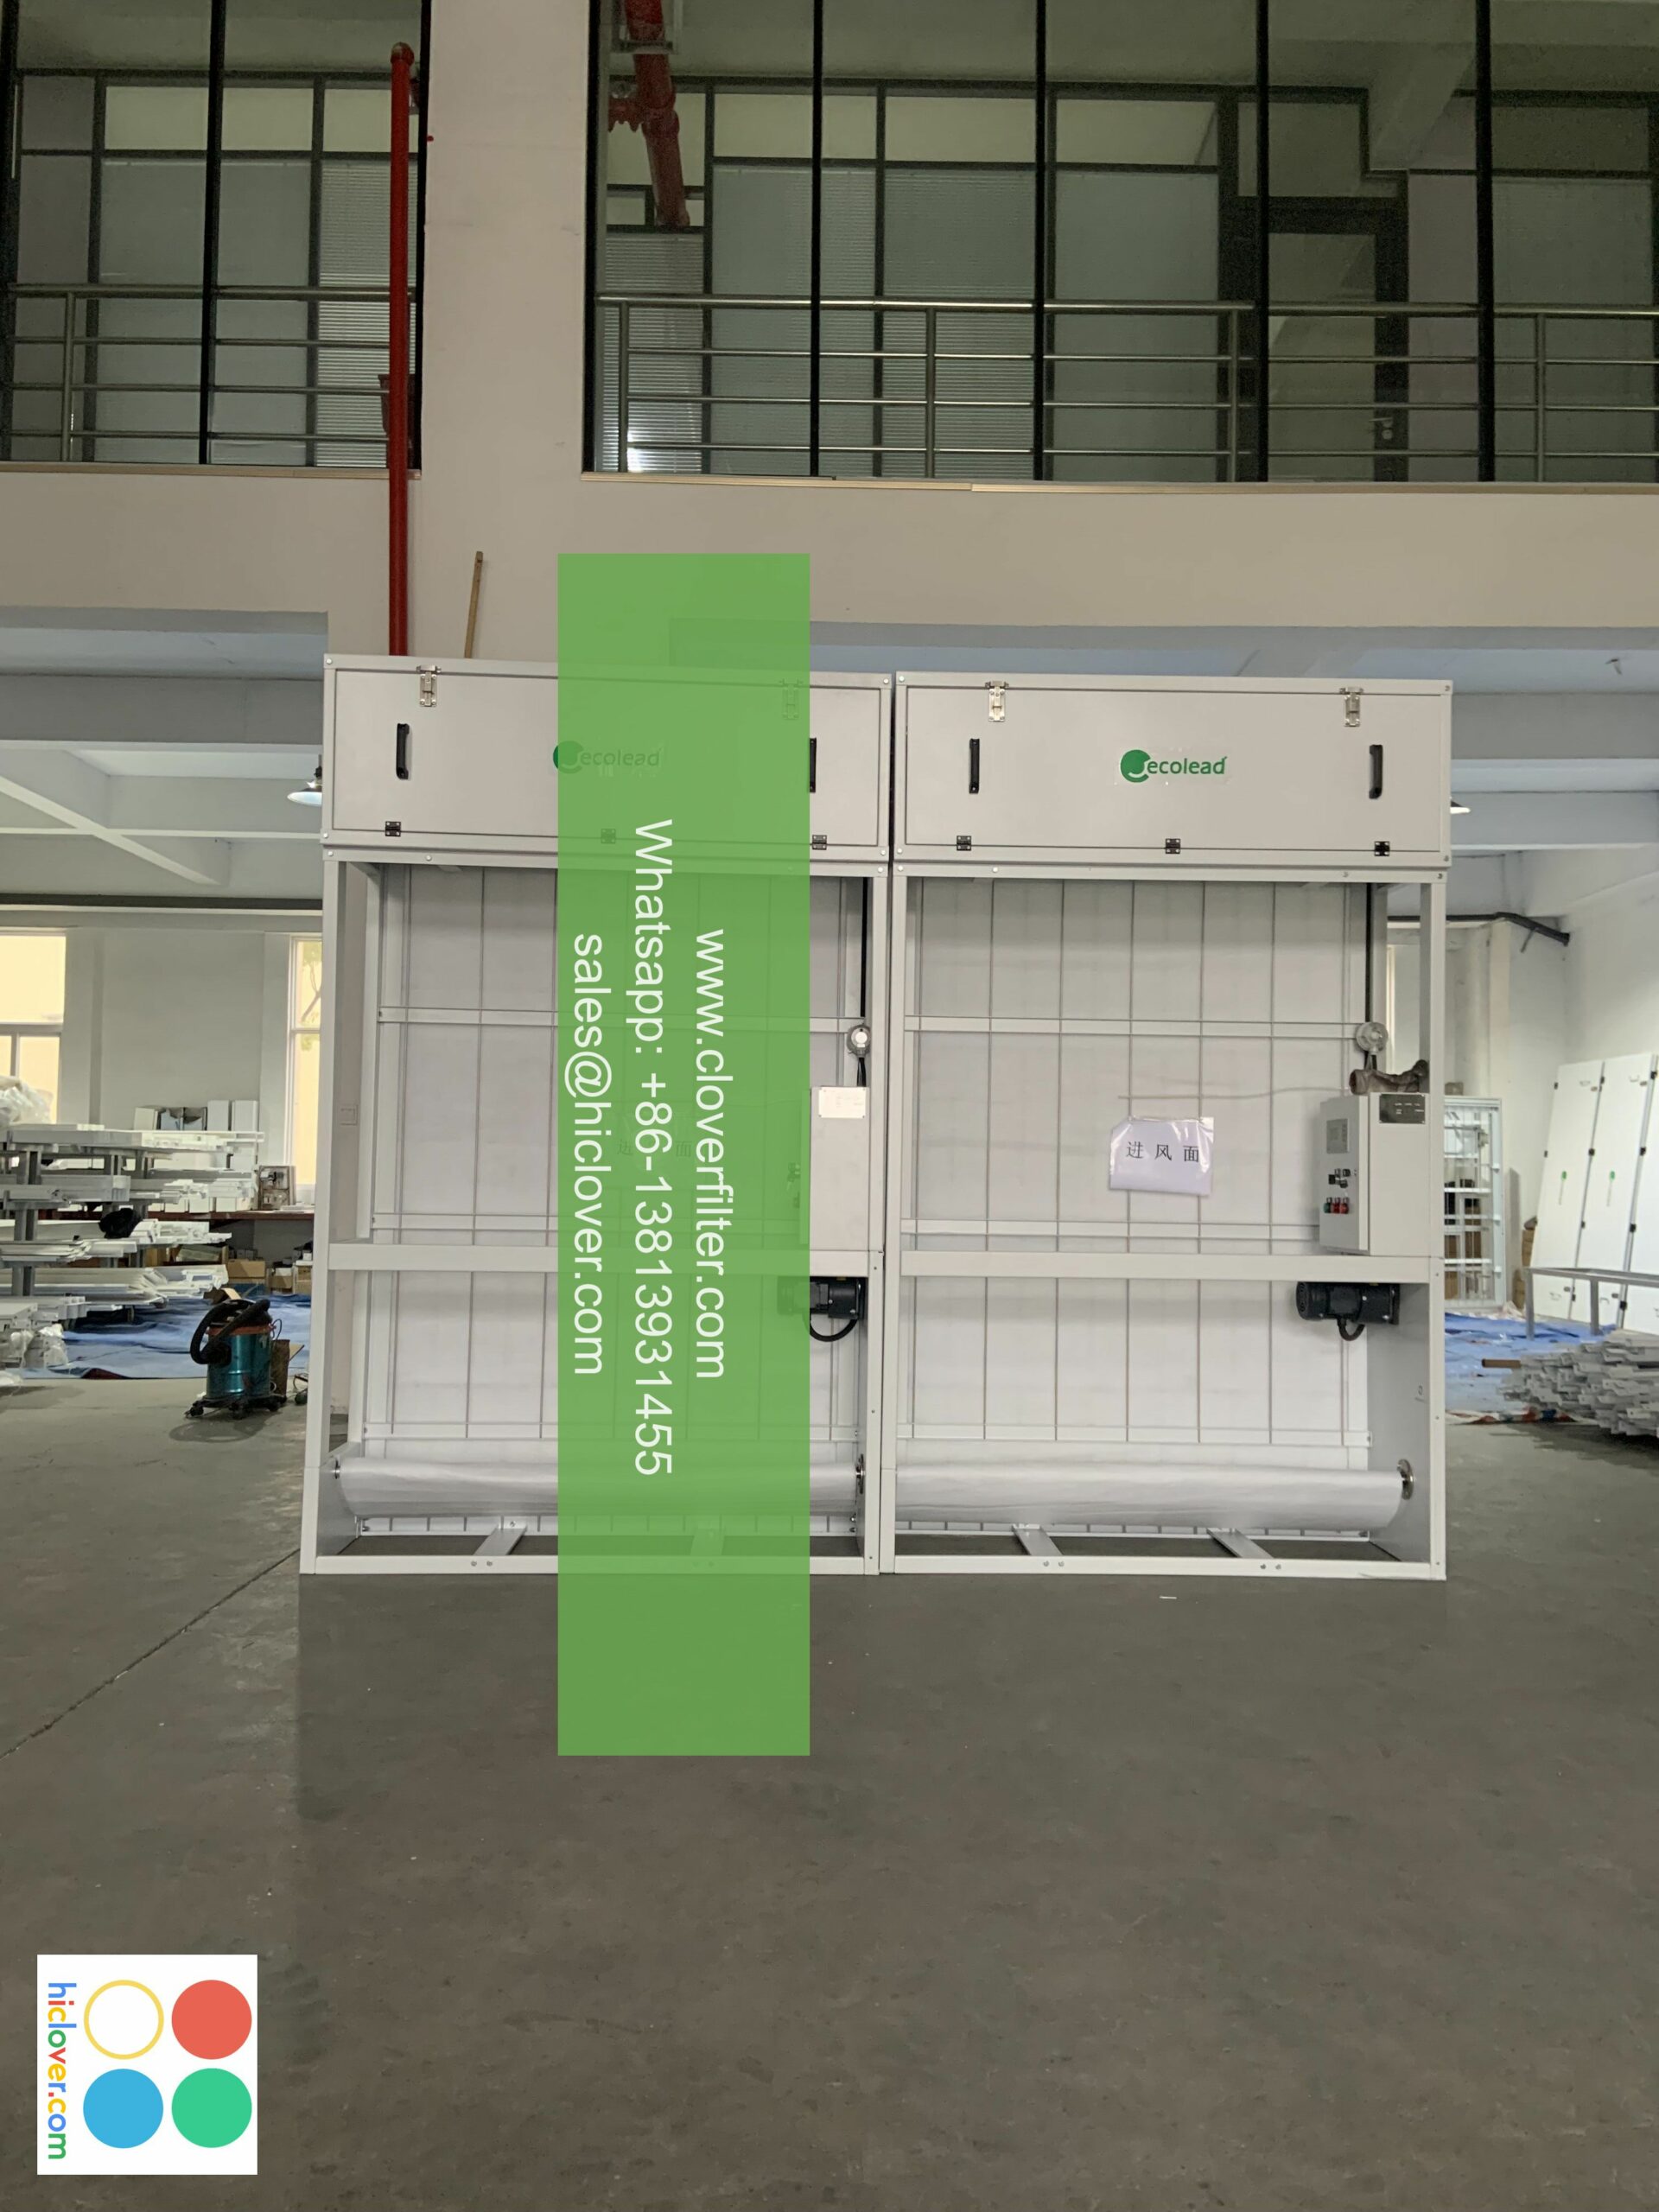
Did you know that replacing your air filter regularly can improve the indoor air quality, reduce energy consumption, and prolong the lifespan of your HVAC system? In this article, we’ll provide you with a step-by-step guide on how to replace your air filter, highlighting various application areas where air filters are crucial.
Why Replace Your Air Filter?

Air filters play a vital role in removing pollutants, allergens, and particles from the air, ensuring a healthier and more comfortable indoor environment. A clogged or dirty air filter can lead to:
• Reduced air circulation and increased energy bills
• Poor indoor air quality, causing respiratory issues and allergic reactions
• Increased wear and tear on your HVAC system, shortening its lifespan
Choosing the Right Air Filter
Before replacing your air filter, ensure you have the correct type and size of filter for your HVAC system. Common types of air filters include:
• Disposable fiberglass filters
• Pleated filters
• Heat recovery ventilator (HRV) filters
• High-efficiency particulate air (HEPA) filters

Step-by-Step Guide to Replacing Your Air Filter
- Turn off the power: Switch off the heating, cooling, or ventilation system to prevent any accidental start-up or electrical shocks.
- <strong Locate the air filter: Identify the air filter housing, which is usually located in a return air duct, ventilation shaft, or near the HVAC unit.
- <strongAccess the air filter: Remove any screws, clips, or panels to access the air filter. Gently pull out the filter from its housing.
- <strongInspect and clean the surrounding area: Remove any debris, dust, or cobwebs from the filter housing and surrounding area.
- <strongInstall the new air filter: Align the new air filter with the housing, ensuring proper installation. Most filters have arrows pointing in the direction of airflow.
- <strongSecure the air filter: Replace any screws, clips, or panels, and ensure the filter is firmly in place.
- <strongTurn on the power: Reactivate the HVAC system to ensure proper airflow and circulation.
Additional Tips and Tricks
• Replace your air filter every 1-3 months, depending on usage, season, and manufacturer’s recommendations.
• Use a filter cleaner or vacuum cleaner to gently clean the surrounding area before installing a new filter.
• Consider upgrading to a higher-quality air filter for improved indoor air quality and energy efficiency.
• Regularly inspect and clean your air filter housing to prevent clogs and ensure proper airflow.
<h6Conclusion
Replacing your air filter is a simple and essential task that can significantly impact your indoor air quality, energy consumption, and HVAC system’s longevity. By following these steps and considering the application areas where air filters are crucial, you can ensure a healthier, more comfortable, and energy-efficient indoor environment.
<h7Keywords
• Air Filter Replacement
• Indoor Air Quality
• HVAC System
• Energy Efficiency
• Air Purification
• Allergen Removal
• Particle Filtration
Note: You can highlight specific keywords or phrases by surrounding them with <mark>keyword</mark> HTML tags.
It looks like you’re ready to get started! What would you like to talk about or accomplish today? Do you have a specific topic in mind, or are you open to suggestions?
