Replacing a Damaged Air Filter Contact: A DIY Guide
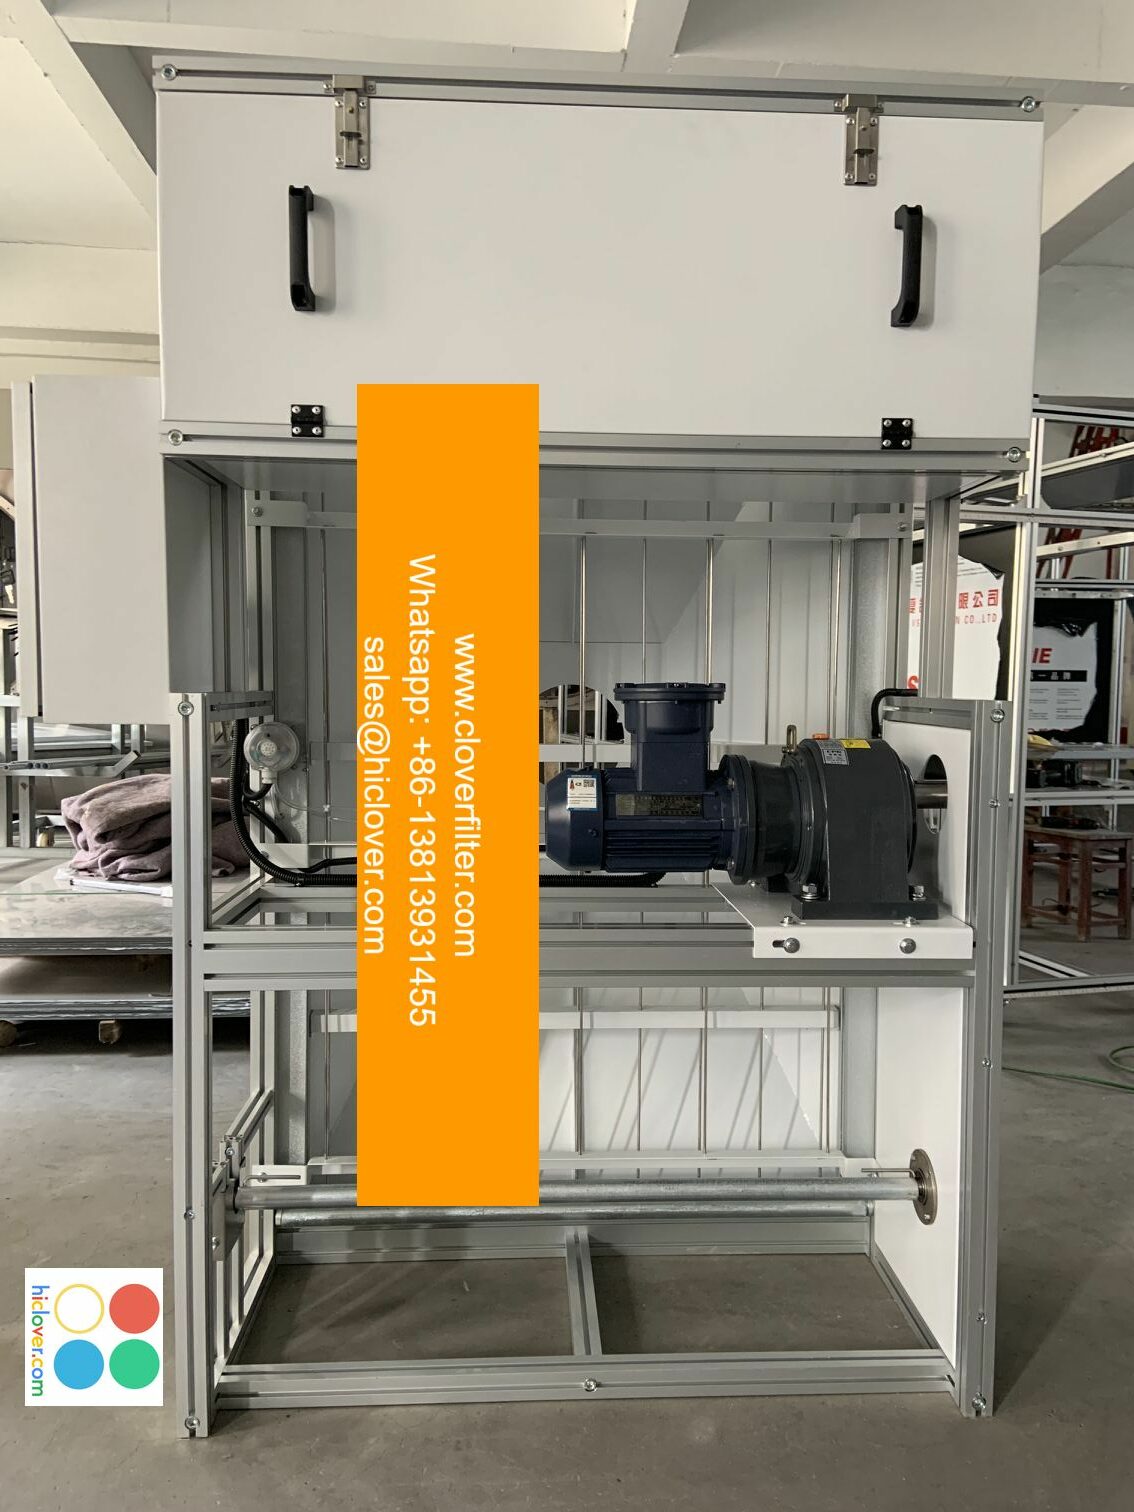
Replacing a damaged air filter contact is a relatively simple process that can be done with basic DIY skills. A faulty air filter contact can lead to poor indoor air quality, reduced heating, ventilation, and air conditioning (HVAC) system efficiency, and increased energy bills. In this article, we will walk you through the steps to replace a damaged air filter contact and highlight various application areas where this process can be applied.
Understanding the Importance of Air Filter Contacts

Air filter contacts are an essential component of air filtration systems, responsible for ensuring that the air filter is properly seated and sealed. A damaged air filter contact can compromise the air quality in your home or building, leading to <strong$respiratory problems and other health issues. Regular maintenance and replacement of air filter contacts are crucial for maintaining optimal indoor air quality and energy efficiency.
Tools and Materials Needed
Before starting the replacement process, make sure you have the following tools and materials:
- A new air filter contact compatible with your HVAC system
- A screwdriver or other suitable tools for removing the old contact
- A vacuum cleaner or brush for cleaning the area around the contact
- Optional: duct sealing tape or duct mastic for ensuring a secure seal
- Turn off the power: Switch off the HVAC system to prevent any accidental start-ups or injuries.
- Locate the air filter contact: Identify the location of the air filter contact, usually found in the return air duct or near the air handler unit.
- Remove the old contact: Use a screwdriver or other suitable tools to remove the old air filter contact. Take care not to damage any surrounding components.
- Clean the area: Use a vacuum cleaner or brush to clean the area around the contact, removing any debris or dust buildup.
- Install the new contact: Place the new air filter contact in the designated area, ensuring it is properly seated and sealed.
- Secure the contact: Use screws or other suitable fasteners to secure the new contact in place.
- Test the system: Turn on the HVAC system and test the air filter contact to ensure it is working correctly.
- Residential HVAC systems
- Commercial HVAC systems
- Industrial air filtration systems
- Healthcare facilities
- Office buildings
- Schools and universities

Step-by-Step Replacement Guide
Application Areas
Replacing a damaged air filter contact is a critical process that can be applied to various application areas, including:
Conclusion
Replacing a damaged air filter contact is a straightforward DIY process that can help maintain optimal indoor air quality and energy efficiency. By following the steps outlined in this guide, you can ensure that your air filtration system is working correctly and provide a healthier and more comfortable environment for occupants. Remember to highlight the importance of regular maintenance and replacement of air filter contacts to prevent air quality issues and energy waste.
You’ve given me a blank prompt. Can you please provide more context or specify what you’d like to talk about or ask? I’ll do my best to provide a helpful and direct response. What’s on your mind?
