DIY Air Filter Panels: A Step-by-Step Guide
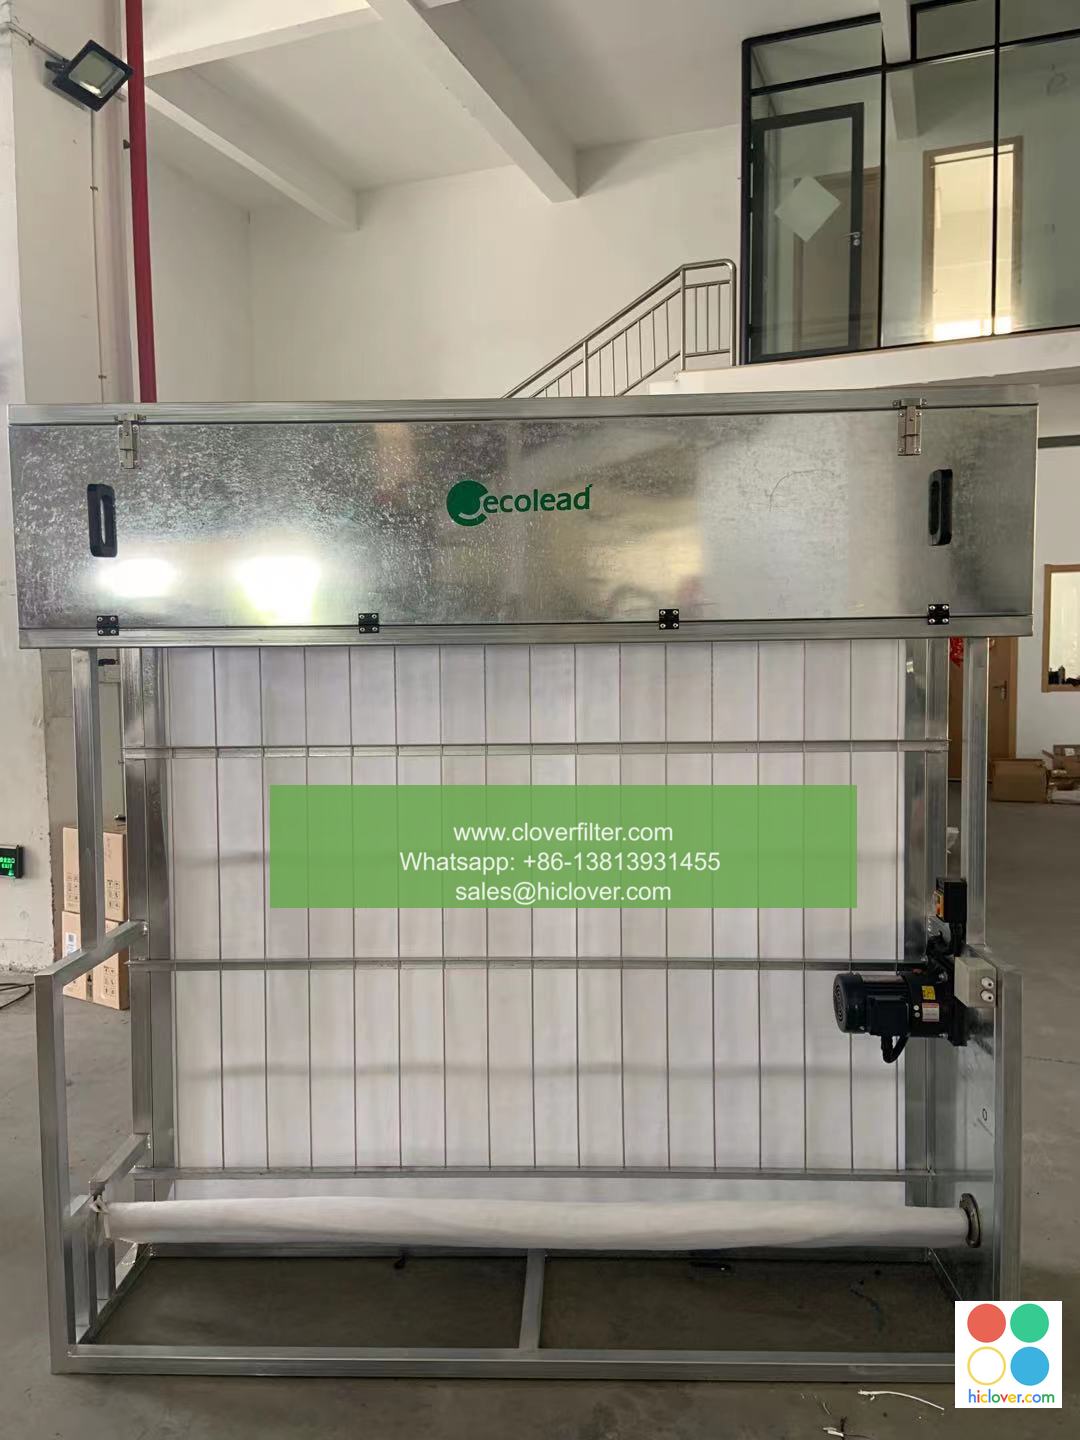
Enhance your indoor air quality with cost-effective and efficient DIY air filter panels!

Why DIY Air Filter Panels?
DIY air filter panels are essential for improving air quality in various settings, such as homes, offices, and workshops. They can help eliminate dust, allergens, and odors, making your environment healthier and more comfortable. This guide provides a simple yet effective method to create air filter panels tailored to your needs.
Materials Needed
Before starting your DIY air filter project, gather the following materials:
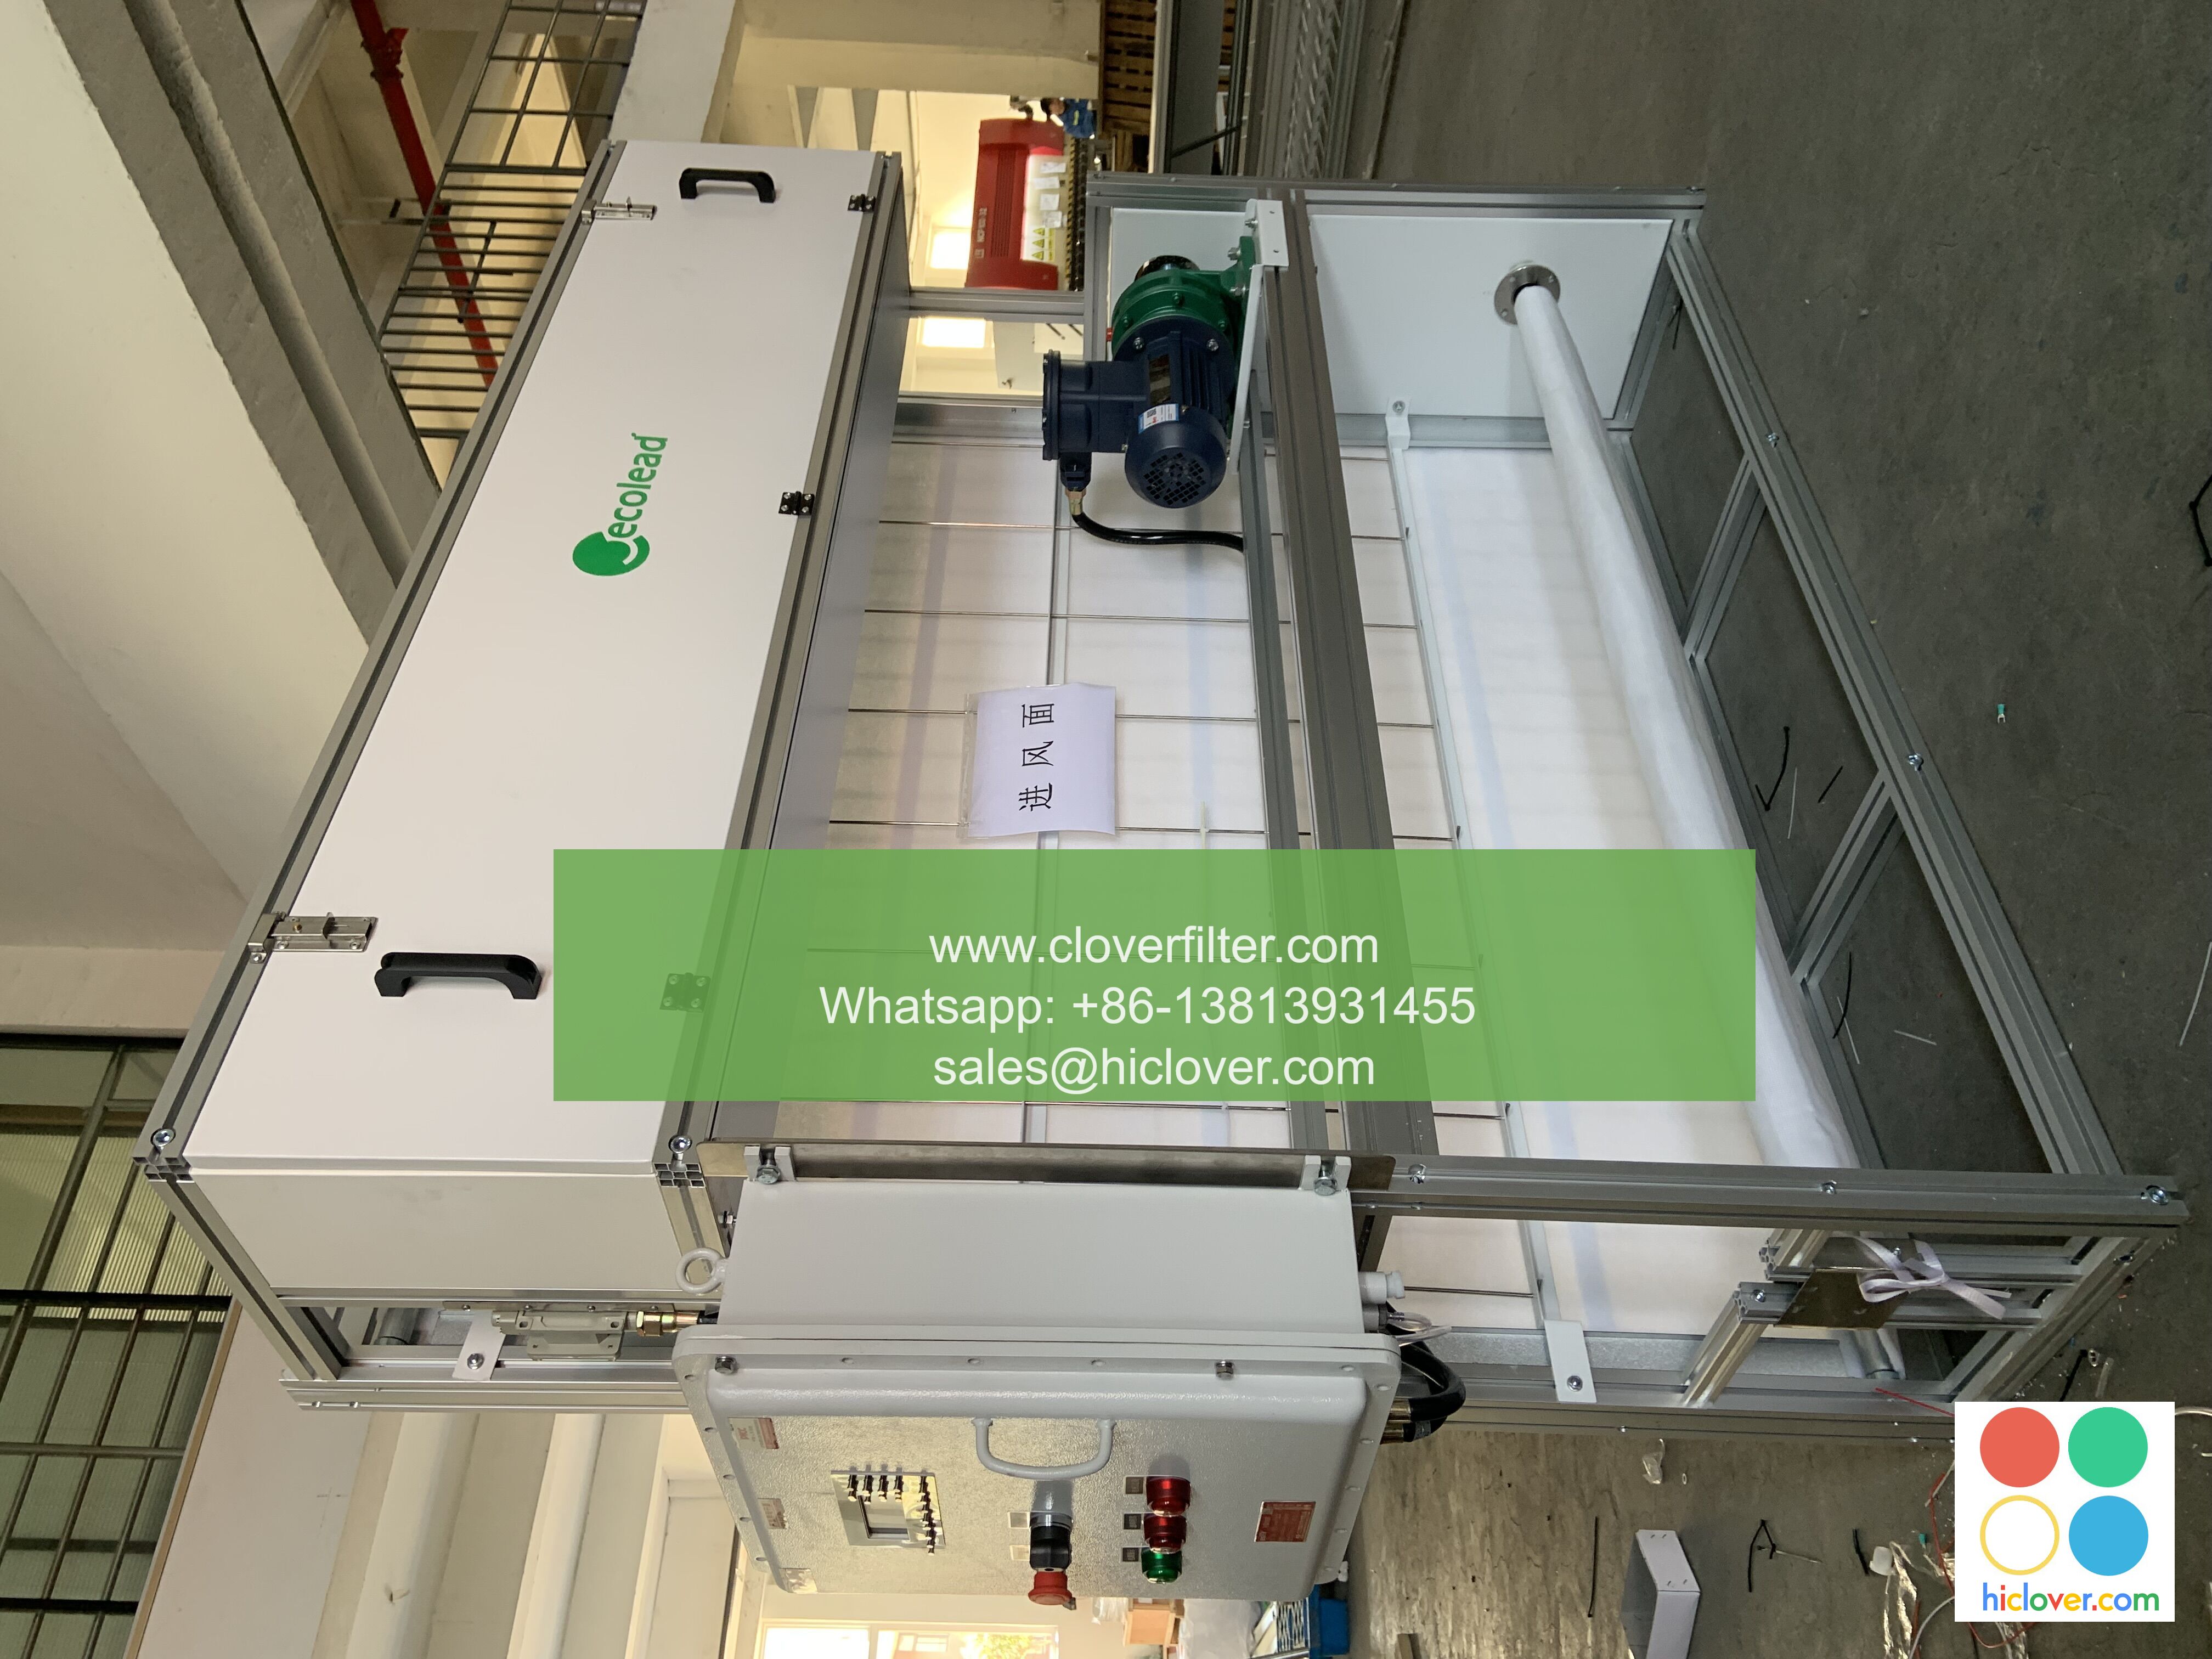
- Air filter media (HEPA or activated carbon)
- Cardboard or plywood for the frame
- Stapler or glue
- Utility knife or scissors
- Measuring tape
- Square or ruler
- Sandpaper (if using plywood)
Step-by-Step Instructions
Step 1: Measure and Cut the Frame
Use the measuring tape to determine the size of the air filter you need. Cut your cardboard or plywood to the appropriate dimensions. A square or ruler will help ensure straight edges.
Step 2: Prepare the Air Filter Media
Cut the air filter media to fit the frame, making sure it covers the entire surface area. Depending on your needs, choose HEPA filters for trapping small particles or activated carbon for odor absorption.
Step 3: Assemble the Frame
Construct the frame by attaching the sides perpendicular to the base. Use a stapler or glue to secure the corners firmly. Sand down any rough edges for safety.
Step 4: Attach the Air Filter Media
Place the air filter media inside the frame and secure it with staples or glue. Ensure the filter fits snugly and there are no gaps where unfiltered air could enter.
Step 5: Finish the Panel
Once the filter media is in place, allow everything to dry or set (if using glue). Your DIY air filter panel is now ready for use!
Application Areas for DIY Air Filter Panels
DIY air filter panels can be applied in various environments:
- Home: Use them in living rooms, bedrooms, or nurseries to enhance air quality and reduce allergens.
- Office: Improve productivity and comfort for employees by eliminating stale air and contaminants.
- Workshops: Protect against dust and fumes generated from woodworking, painting, or crafting activities.
- Greenhouses: Maintain fresh air circulation and remove unchecked pests or pollutants.
- HVAC Systems: Add to existing systems for better filtration and air management.
Conclusion
Creating your own DIY air filter panels is a budget-friendly solution to improving indoor air quality. Follow the above steps to craft effective filters tailored to your specific requirements. Regular maintenance and replacement of the filter media will ensure optimal performance, leading to healthier living and working environments.
It seems like your message got cut off. Could you please provide more details or clarify what you’re looking for? Whether it’s a creative prompt, a question, or a specific topic, I’m here to help!
